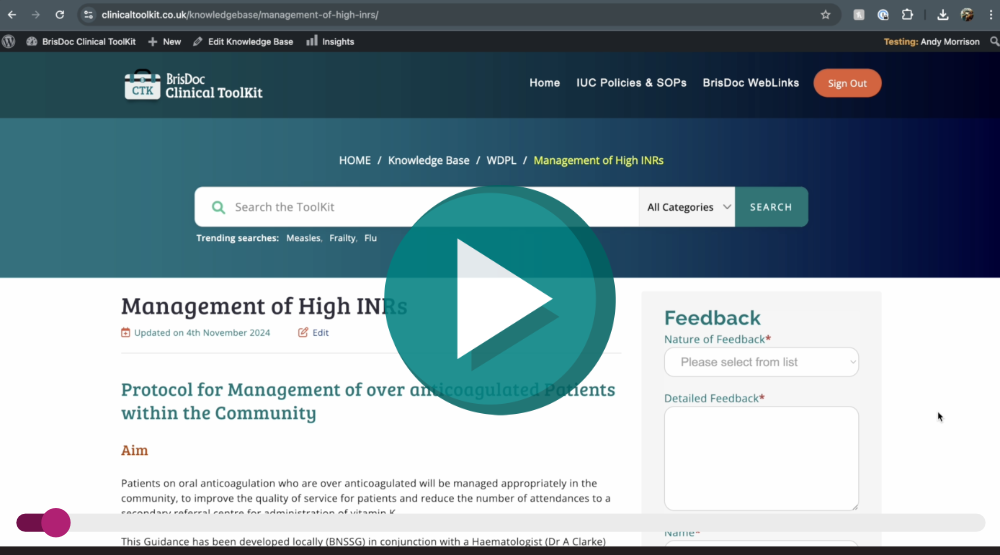
Watch our short training video on - Editing the Clinical Toolkit.mp4
Instructions for Editing the BrisDoc Clinical Toolkit
1. Introduction
- Purpose: This guide provides step-by-step instructions for editors to update and manage documents within the Clinical Toolkit.
- Audience: Editors responsible for maintaining content in the BrisDoc Clinical Toolkit.
- Pre-requisites: Ensure you are logged in to access editing features.
2. Accessing Documents for Editing
Method 1: Accessing via Back-End
- Log in to the Clinical Toolkit.
- Navigate to the left-hand menu and select Knowledge Base.
- Use the search function to locate the desired document by entering keywords (e.g., “INR”).
- Click on the document link to open it in the editing interface.
Method 2: Accessing via Front-End
- Navigate to the homepage of the Clinical Toolkit.
- Use the search bar to find the document.
- Ensure you are logged in. If not, click Sign In at the top of the page and log in.
- Locate the Edit button that appears when logged in and click it to access the back-end editing interface.
3. Editing Document Content
Navigating the Editing Interface
- Key sections available for editing include:
- Title
- Body of the document
- Categories
Editing Titles
- Ensure titles are clear and inclusive of key search terms for optimal searchability.
- To edit, click on the title field, make the necessary changes, and click Update when ready.
Main Body Edits
- Use appropriate heading structures:
- Heading 1 (H1): Main document title (rarely changed).
- Heading 2 (H2): Primary sections.
- Heading 3 (H3): Subsections.
- Paragraph: Standard body text.
- Format the document consistently by selecting the correct heading or paragraph style from the toolbar.
- Edit, delete, or add content as needed. Ensure updates maintain readability and logical flow.
Toolbar Functions
- Use the toolbar to:
- Bold, italicise, or create bullet points.
- Align text, create numbered lists, or insert links.
4. Adding and Editing Links
Updating Existing Links
- Click on the link to see its current URL.
- Choose Edit to update the link.
- Paste the new URL and click Apply.
- Click Update on the right-hand side to save changes.
Inserting New Links
- Highlight the text you want to hyperlink.
- Click on the Insert Link button in the toolbar.
- Enter or paste the URL into the box and click Apply.
- Click Update to publish your changes.
5. Inserting Media Files
Adding New Documents
- Position the cursor where you want the file to be added.
- Click on Add Media.
- Choose an existing document from the library or click Upload Files to add a new one.
- Select the file and click Insert into Page.
Previewing Media
- Click Preview to check how the file appears on the page before saving.
- Make any necessary adjustments and click Update to finalise changes.
6. Previewing and Saving Changes
Previewing Edits
- Click Preview to view your changes without making them live.
- Check the page thoroughly for formatting, links, and content accuracy.
Saving Changes
- Click Update to publish changes.
- If unsatisfied, refresh the page before clicking Update to discard unsaved changes.
7. Managing Knowledge Base Categories
Selecting Categories
- Ensure the document is categorised appropriately for easy navigation.
- Tick the relevant categories from the list provided.
- Click Update to save changes.
Adding New Categories
- Only add new categories if absolutely necessary.
- To add, scroll to the Categories section and select Add New Category. Enter the name and click Add.
8. Best Practices for Editing
Consistency in Formatting
- Maintain a consistent structure using correct heading levels and paragraph styles.
- Ensure spacing and text alignment adhere to existing standards.
SEO Tips
- Include relevant keywords in the title and main body for better searchability.
- Avoid keyword stuffing; focus on natural inclusion.
Avoiding Common Errors
- Do not alter URLs unless essential to prevent broken links.
- Double-check link functionality to ensure proper navigation.